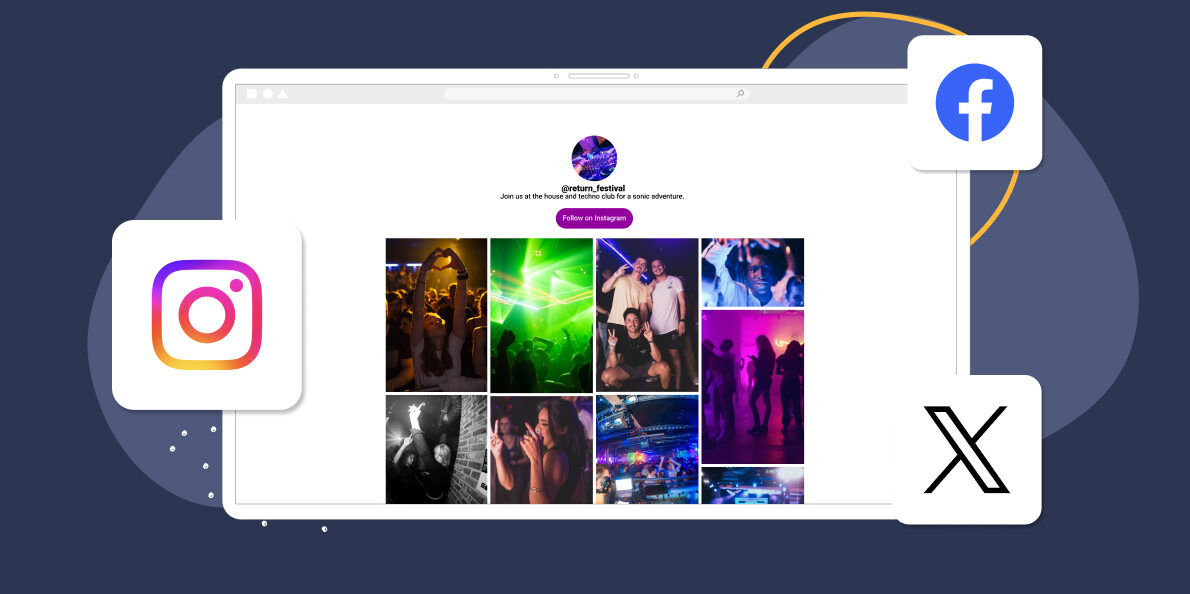
Imagine having a single place where all your best social media moments come together, live and in real-time. That’s what a social media wall is—a digital display that pulls content from platforms like Instagram, into one viewable feed.
It is a fantastic way to share user-generated content, showcase your products, share upcoming events or spotlight your brand in general. You can use the wall to aggregate content from one or more social media accounts on your website, be they from Instagram, Twitter, Facebook, TikTok, or other platforms . For this article, though, we’ll focus mostly on Instagram.
We’ll show you how you can set up an Instagram social media wall for your WordPress website and place it anywhere you want using Spotlight.
But first, let’s talk about social media walls, why you should use them, and how to create one.
What is a social media wall?
A social media wall is a type of screen, display or gallery that shows posts, photos, videos, or updates from your social media accounts and puts it together in a neat, easy-to-view feed. Instagram social media walls can show content from different hashtags and accounts.

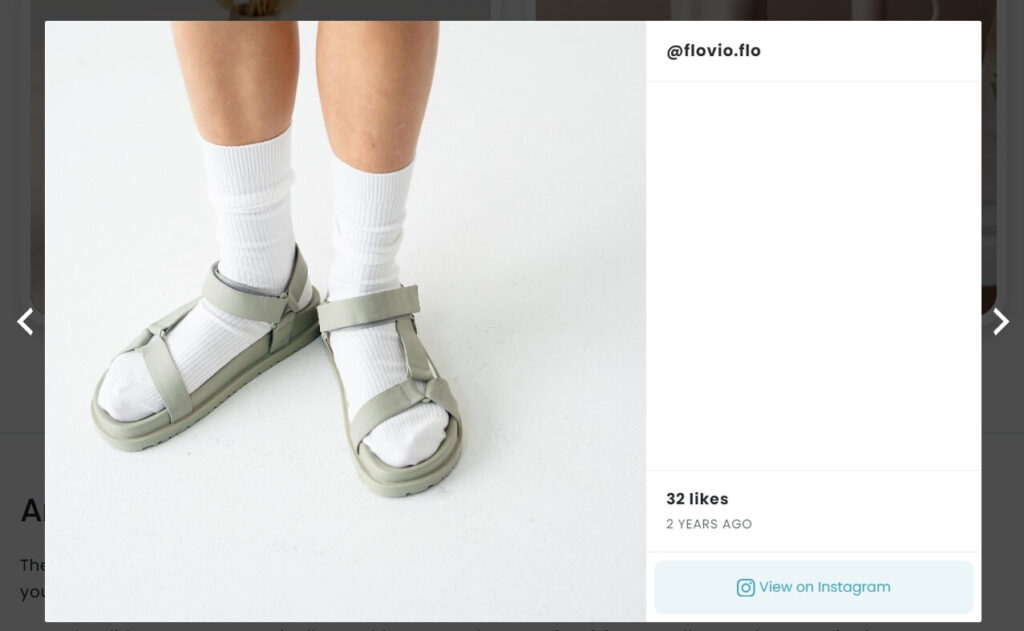
Since social media walls update automatically, they can help you keep visitors engaged and spend more time on pages to see new content. If a user wants to see more of a specific post, they can click on it within the wall and it’ll open a new page or popup with the post.
Social media walls can make for great additions for events pages to show UGC from specific hashtags, specific posts from your campaign or tagged posts. If your business uses Instagram or other social media platforms to engage with users or customers, adding a wall to your site can be a great way to re-purpose all the content you create for them.
How do you create a social media wall? (for any social media platform)
We’ll show you the step-by-step process for creating an Instagram social media wall in a minute (skip right over if you want). For now, let’s go over how the process works in general, whether you’re using WordPress or not:
- Choose the right platform or plugin. If you’re using WordPress, you can use a plugin like Spotlight to help you create social media walls and feeds for your site. There are also dedicated services and platforms like Onstipe, Social walls, and Walls that offer integration with other social media sites.
- Select what feeds to display. Once you set up the tool you’re going to use, you can connect your social media account(s) and select what feeds to display. For Instagram, this could be your main feed, a moderated version of it (you decide which posts make it to your feed), or even focus on UGC.
- Set up one or more walls. Ideally, the tool you’re using will enable you to set up multiple walls for different purposes and parts of your site.
- Customize the social media wall to match your site. If you’re going to use a social media wall, take the time to make sure it doesn’t look out of place on your site. This makes it more likely that users will stop and interact with it.
If you want to set up a social media wall for other platforms aside from Instagram, you can start by taking a look at Tagboard (Twitter) or Social Walls (TikTok). There are plenty of great social media wall and aggregator tools you can use, so it’s a matter of digging around and testing options. For Instagram and WordPress, you’ve got Spotlight.
What apps (and content) can you add to a social wall?
By “apps”, we mean social media platforms. Most social media wall and feed aggregators only support specific platforms and set types of content for them. If you want to set up a social media wall, here’s the type of content you’ll be able to add to it:
- Instagram: Posts, reels, and stories. Spotlight supports all of them.
- Twitter: Tweets, hashtags, and trending topics.
- Facebook: Posts and page updates.
- YouTube: Videos, different channels, and playlists.
- TikTok: Videos.
- Pinterest: Boards and pins.
Social media walls can vary a lot in style depending on which platform you’re pulling content from. Instagram walls can be incredibly versatile, since the platform supports so much type of content.
To put that into context, let’s talk about the different ways to use a social wall. For each option, we’ll show you examples so you know what a great wall looks like.
Different ways to use a social wall
Let’s go over specific use cases for Instagram walls, how they can benefit your brand, and how they can look on your website. Let’s start by talking about hashtag feeds.
Hashtag feeds
Most social media platforms use hashtags. That makes it easy to find content you’re interested in and for tools like Spotlight to aggregate it on your site.
You can create a social media wall that collects posts with specific hashtags. Since the wall updates automatically, this can be like having a real-time feed on specific topics, custom-made for your website:

If you use hashtags for UGC, you can display it in real time with a social media wall too. Do keep in mind that some hashtags can attract weird content, though, so you’ll may want to set up some type of filter to keep your brand looking good.
Tagged post feeds
A lot of brands ask users to tag them on content related to them. This helps you (the brand) engage with customers, get free content you can use, and it can keep an Instagram feed or wall looking lively.
You can create a wall for UGC using hashtags and tagged posts too. With Spotlight, you can set up a wall that displays all the content you’re tagged in:
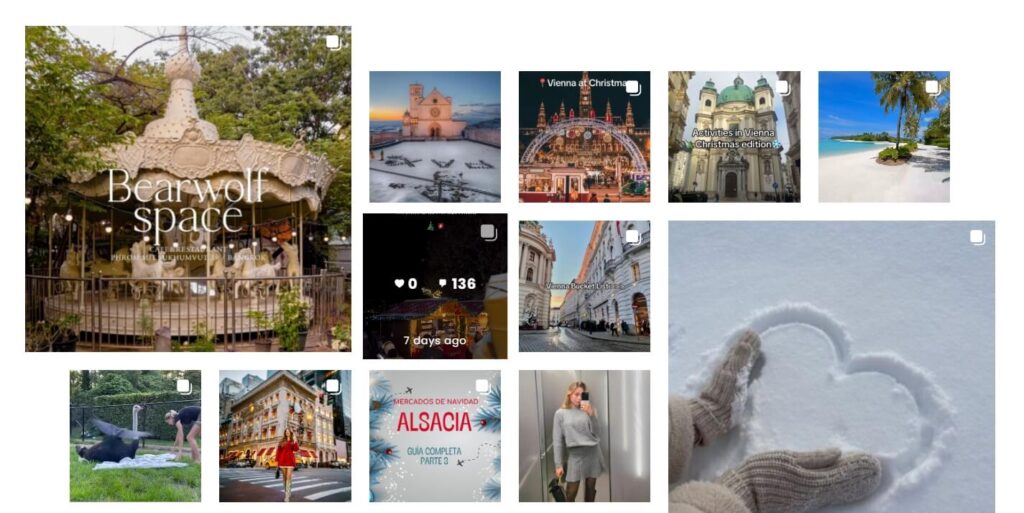
Spotlight also includes moderation tools so you can approve what makes it to the frontend of your website.
Event displays
Social media walls can be amazing complements for events. If your business is hosting or sponsoring an event, you can ask attendees or interested people to tag you in their publications or use a specific hashtag.
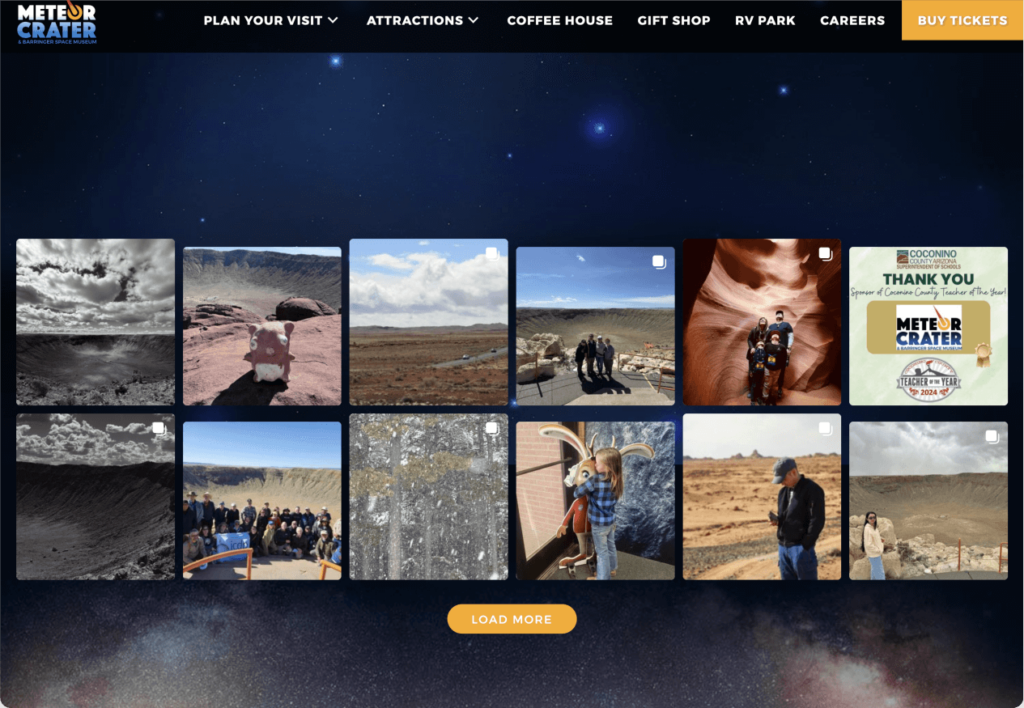
If you set up a social media wall that includes those posts, you can have a real-time feed that shows visitors how much fun the event is. You can also keep up the wall afterward to build trust for the next events.
You may be interested: Instagram Walls for Events: A Step-by-Step Guide
Digital signage
Social walls don’t just belong on websites. If your business has a physical location, you can use any display to show the wall on your site and focus on it. This is a fun way to engage physical customers with your social media presence.
People can approach the display, see your social media account and updates, and decide if they want to follow the brand on Instagram. All it takes is one display located in a prominent part of the location so people can’t miss it.
Shoppable feeds
Social media walls can fulfill a purpose beyond looking great and engaging users. They also offer a smart way to show your products and link visitors to their product pages to make a purchase:
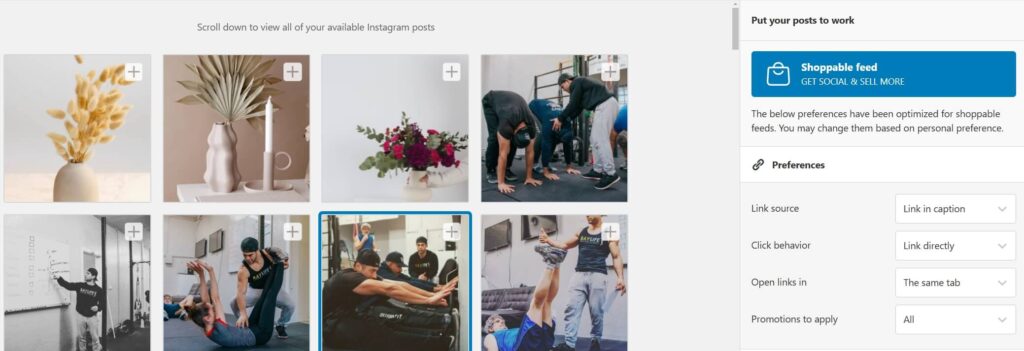
This is what we call a shoppable feed. If you use Spotlight, you can create a social media wall and link items in it to specific product pages, to make it shoppable.
Steps to display a social wall using Spotlight
If you want to create a social media wall that combines Instagram content from hashtags and tags, you’ll need to use Spotlight PRO. The free version of the plugin only enables you to display content from your linked account, so you can use it to add simple Instagram feeds to WordPress.
Step 1: Install Spotlight plugin
To get started, install Spotlight by going to the dashboard and navigating to Plugins > Add New Plugin. Use the search feature to look for “Spotlight Social Feeds”, you can’t miss it:
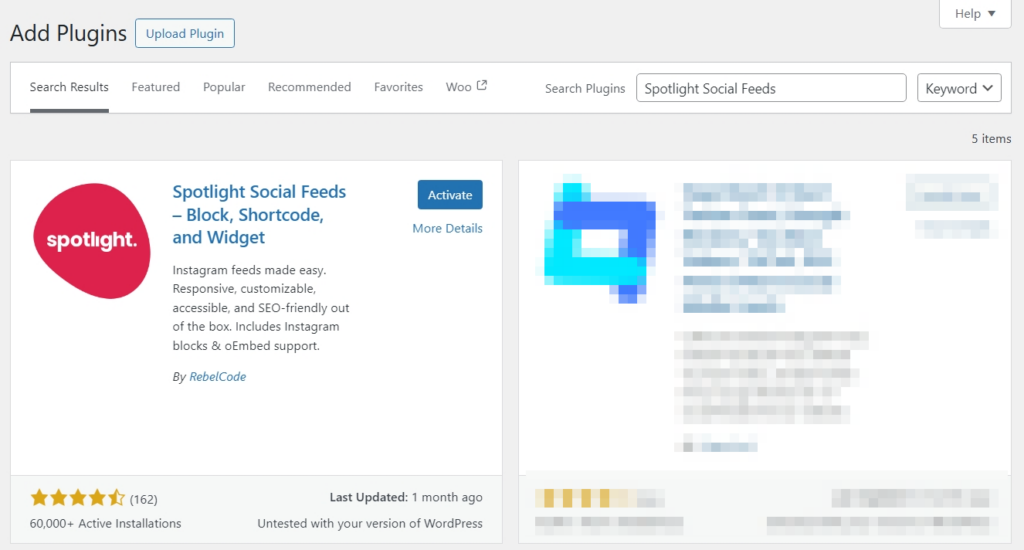
Click on Install next to the plugin name. Wait for the plugin to install then select the Activate option.
You’ll also need to install the premium version of the plugin and activate it using the license you got while signing up for a plan. Here’s how to download the plugin and activate a Spotlight premium license.
With the plugin ready, let’s go over how to connect your Instagram account.
Step 2: Create a feed and connect your Instagram account
To get started, go to Instagram Feeds > Feeds and click on Create a new feed. Spotlight will ask you what type of feed you want to set up and for a social media wall, we recommend using a Combined feed:
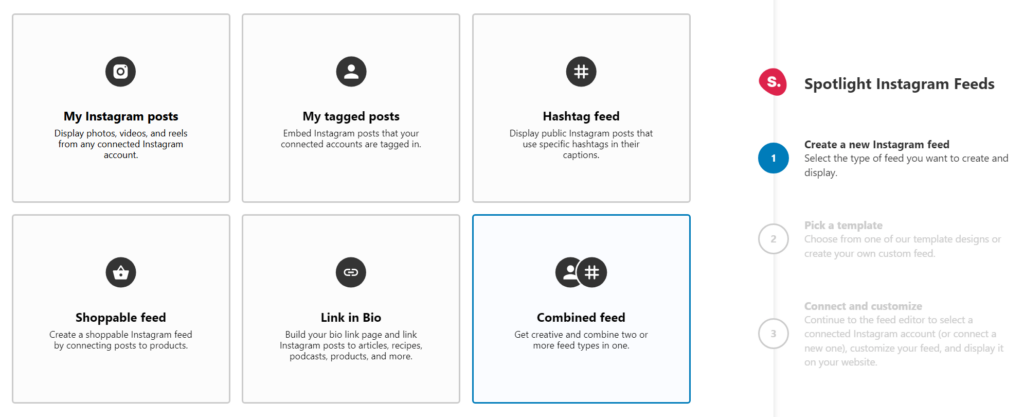
Combined feeds can combine your Instagram posts with tagged content, hashtags, shoppable items, and more.
Now go ahead and select a layout for the wall or feed. You can change layouts at any time, so feel free to experiment and see what looks best with your site’s design:
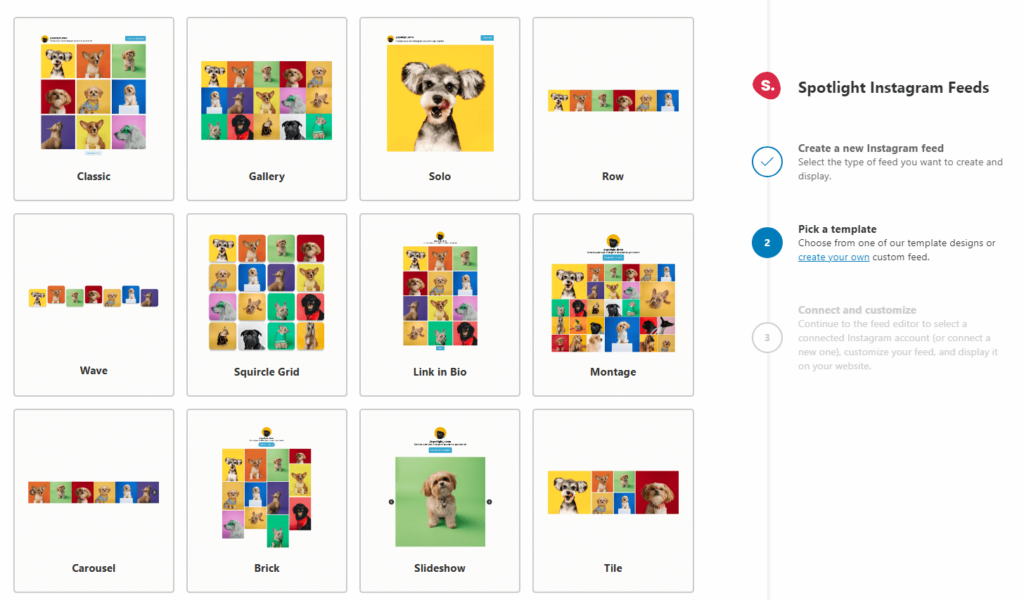
Note: If you use the free version of the plugin, you won’t have access to all the layouts.
Confirm your choice and now you’ll get access to the feed “editor”. This is where you get to customize every aspect of the social media wall, decide what content it should include, and link your Instagram account to Spotlight:
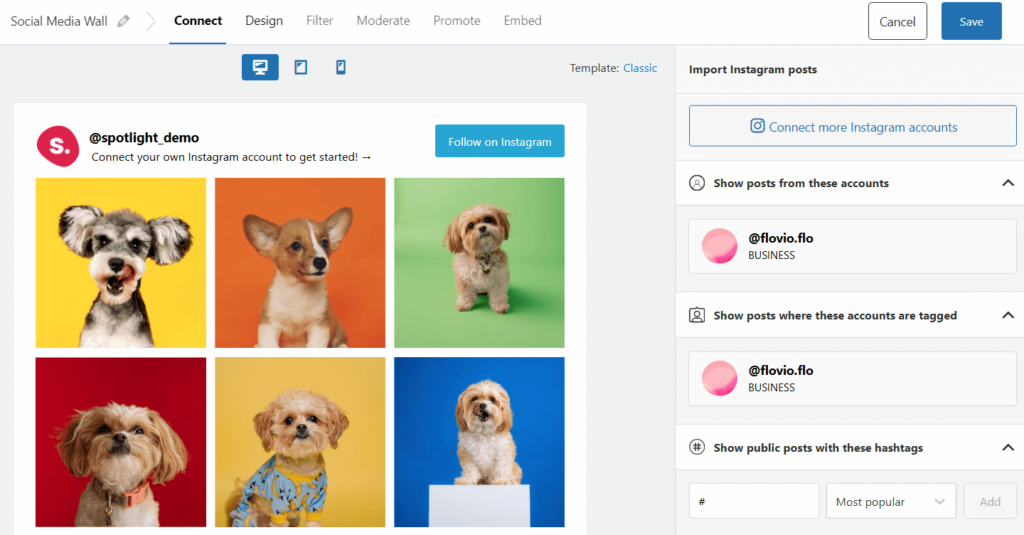
To connect an account, click on the button under Connect your account. Note that you’ll need a professional Instagram account (either Business or Creator) for Spotlight to work. This is because only professional accounts can connect third-party applications.
You can easily switch to a professional account in a matter of minutes and it won’t affect your Instagram experience beyond giving you access to analytics tools for measuring engagement and other metrics. Here’s a quick video on how to do it:
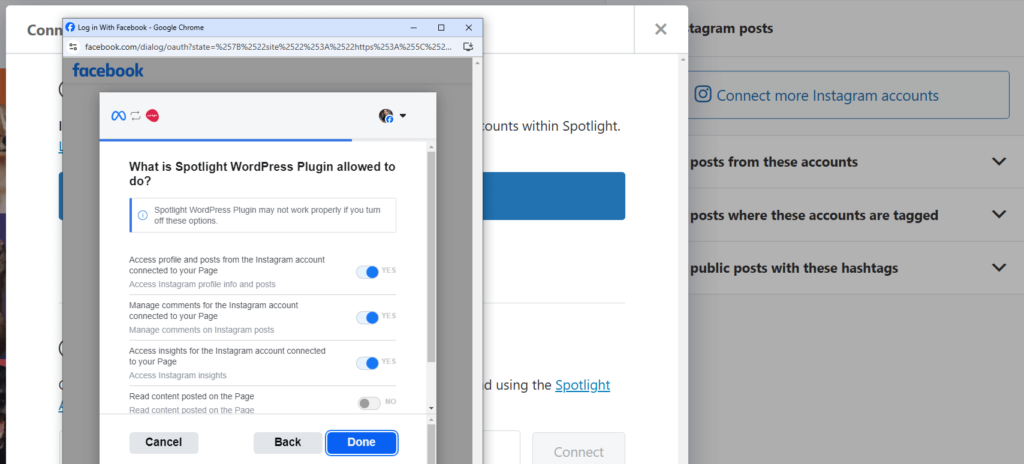
A popup will appear, asking you what Instagram account you want to connect to. You’ll also need to confirm the necessary permissions for Spotlight:
Now that your account is connected, you can customize how the feed will look and the content it’ll show. Let’s move on to designing the wall or feed.
Step 3: Design the social media wall
The easiest way to set up an Instagram social media wall is to show posts that your account is tagged in. You can also combine that with showing public posts that show a specific hashtag.
In this example, we’re showing the posts where our test account is tagged and public posts with the #puppy hashtag:
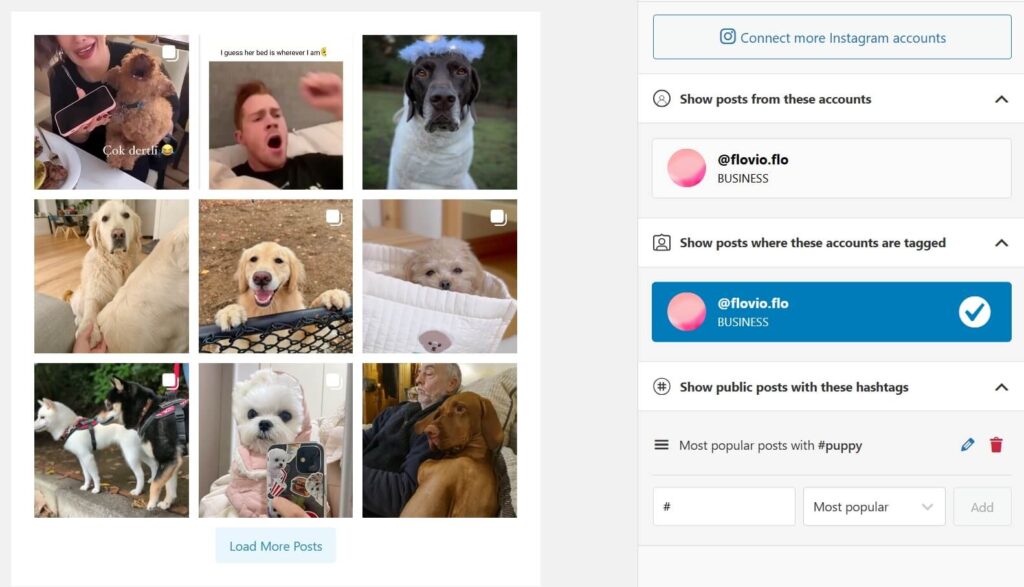
Spotlight is designed to update feeds automatically. It’ll check Instagram for new posts periodically and update the social media wall to display them.
For posts that use a specific hashtag, use the option that says Most recent. This will include tagged posts in the wall in order of publication.
At this stage, you have a fully-working social media wall. However, we also recommend you take the time to navigate Spotlight’s design options and make sure the feed matches your site’s style.
Step 4: Add the social media wall to your site
Spotlight offers several ways to embed and showcase your Instagram wall. If you go to the Embed tab while editing a feed, you’ll see options to automatically create a new page or post for the element and a shortcode you can copy to place it manually.
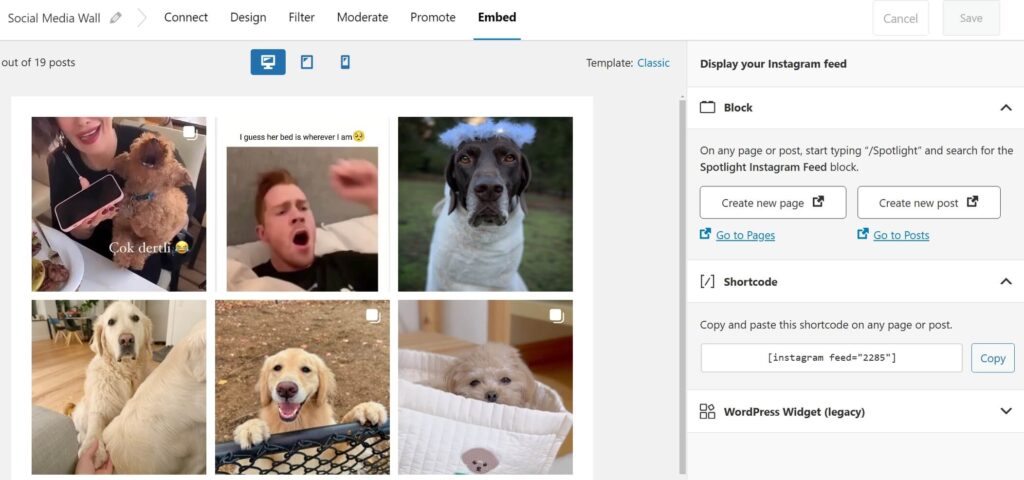
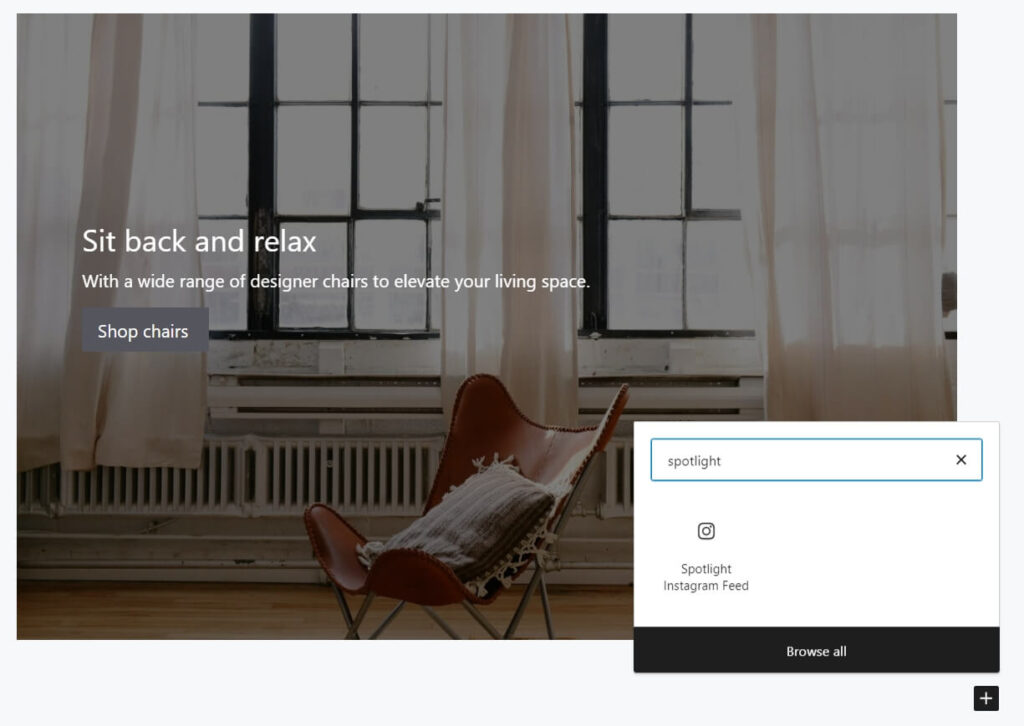
If you use the Block Editor, you can add saved feeds by selecting the Spotlight Instagram Feed block and placing it on a page or post.
Make sure to check how the social media wall looks from the front end and you’re good to go. If you need to make any changes before the feed goes live, return to the editor and play around with the feed’s style until it’s ready to go live.
Conclusion
Social media walls are the kinds of elements you don’t see often on the web. Leveraging Instagram content can make your website look much more alive and help you funnel visitors toward your social media profiles. With a social wall, you get to show off all kinds of content related to your brand, including tagged posts and hashtags.
Spotlight takes care of updating the social media wall so it always shows the latest content. You can create as many walls as you need and pull items from multiple accounts. All you need is a Spotlight PRO license and an Instagram Creator or Business account and you can get to work on a social wall.
Do you have any questions about how to set up a social media wall? Let’s talk about them in the comments section below!

